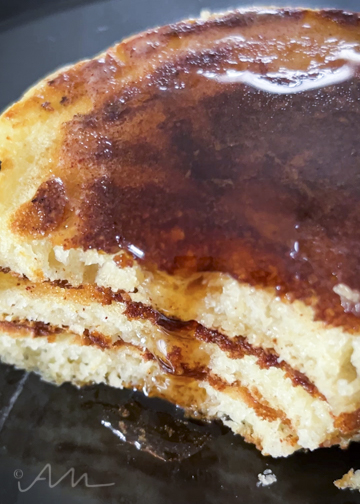
well, summer is gone and we are in the autumn months and slowly transitioning into winter… and as the seasons change, so does my palate and therefore, what i enjoy to cook and eat.
i recently decided to leave the social media world for a while. it’s just too much and it’s not what i signed up for. i only mention that because sometimes i did enjoy getting inspired by other foodies while scrolling and sifting through the mostly nonsense, and i found the recipe for this dish. it is one of my new favourites that i now eat on the regular. it was particularly awesome to make it when i was able to grow my own tomatoes.
i miss having a garden so much it hurts.
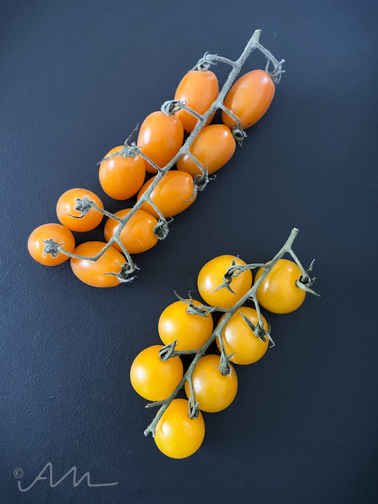
this dish is so simple to make. i was so happy to see that i could find sungold tomatoes at my local grocery store since i am not able to grow my own. they are so wonderful! they are like natures candy… sweet and tangy… and if i’m not mistaken, they are less acidic than regular tomatoes (which is really important to me at this time in my life.) they are so juicy and they pop and burst in your mouth and make a delicious sauce! when i saw they were on sale in the late summer, i bought a bunch with the intention of making some of this sauce to freeze so i could enjoy it during the approaching wintertime. it freezes really well and during the cold months, is so comforting, refreshing, and satisfying.
ingredients are simple, as always – measuring with your heart :
- sungold tomatoes
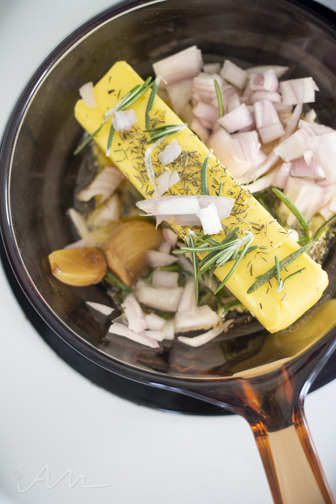
- sweet onion
- garlic
- olive oil
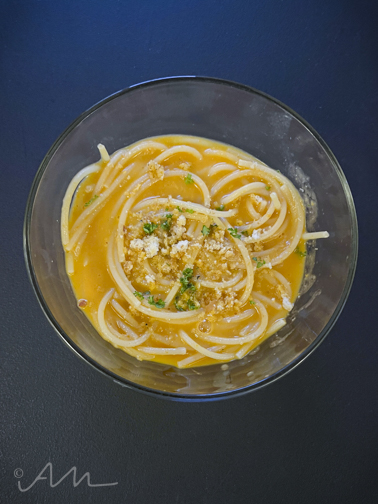
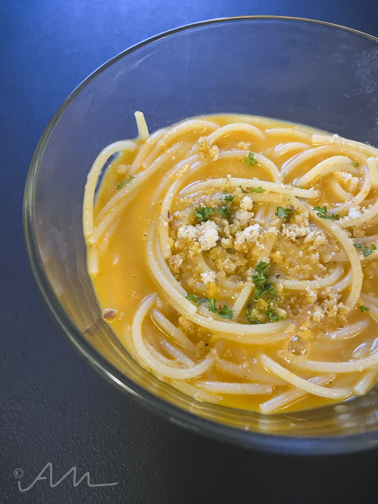
- spaghetti or pasta of choice (thin spaghetti is the food and foto choice)
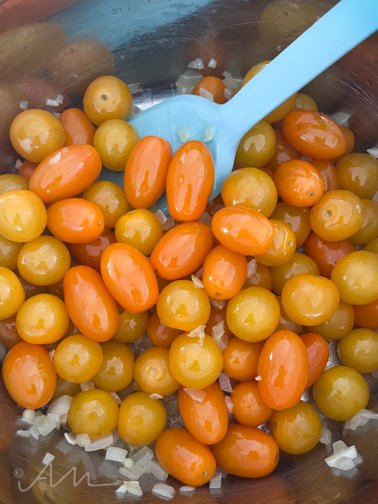
i think the key with this recipe is to make sure not to use too much of the onion and garlic. you really want the tomato to be the star. the aromatics help with overall flavour, but we don’t want to overpower the delicate taste of these beautiful summery golden tomatoes.
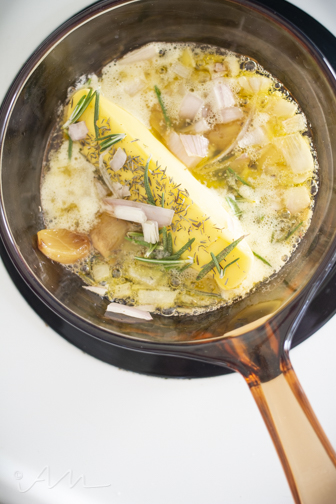
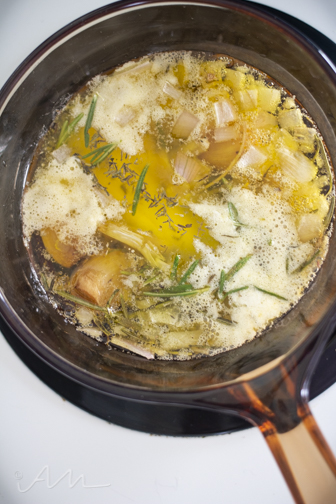
the best method i’ve found is to add the onion, garlic, and tomatoes to a bit of olive oil in a sauce pan and simmer very slowly, adding a bit of water as to avoid any burning. the tomatoes will eventually burst and create a wonderful base for the sauce.
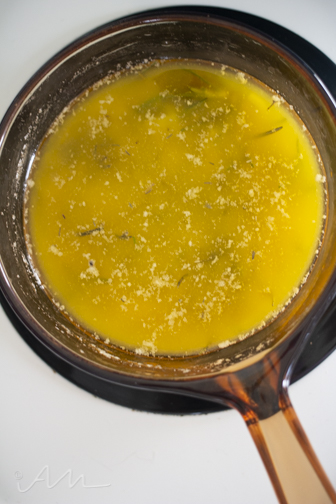
once the tomatoes are fully cooked, transfer to a blender and marry all those flavours together. cook the pasta until al dente, then add in a bit of starchy cooking water to the fragrant sauce and then add in the noodles. remove from heat and top with freshly grated parmigiano reggiano. transfer to a bowl and finish with (homemade) croutons and fresh parsley. *chefs kiss*
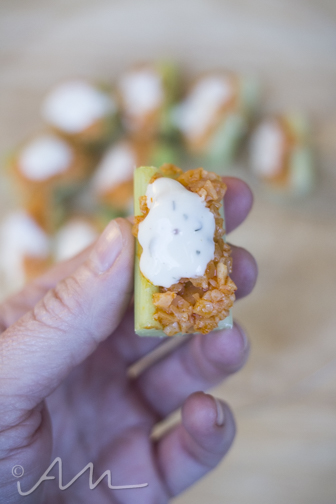
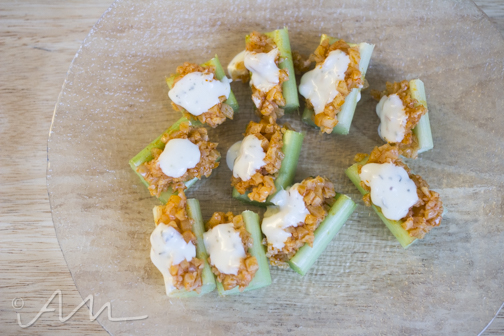
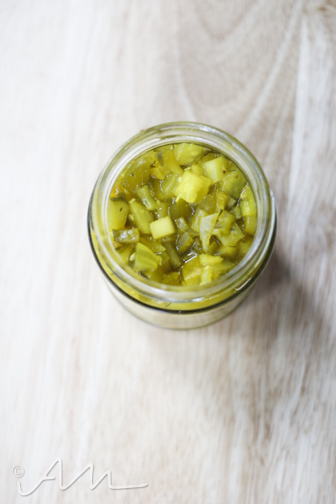
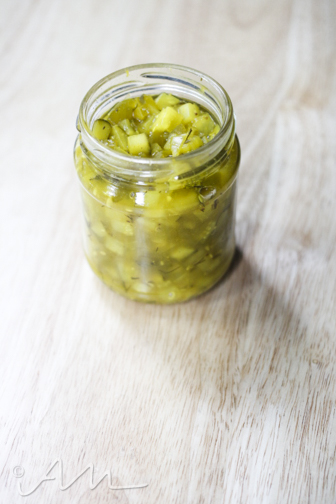
usually i have a small cucumber salad on the side… nom nom.
this really is a dish for tomato lovers!
have you ever tried sungold tomatoes? shoutout to daphne oz for the inspo on this! she’s just so classy and such a foodie!